
 Jamberry Facebook
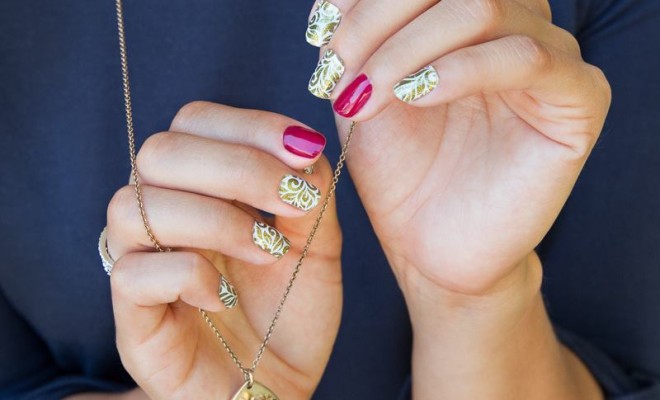
Mani Monday: We Tried Jamberry Nail Wraps
I’m a nail girl – I love the idea of getting fancy with nail polish and playing with different colors or designs. Unfortunately, aside from watching the occasional YouTube video, I am not that creative when it comes to my own hands, particularly when I’m on a time crunch.
So when Jamberry consultant Jessica Reed offered us the chance to try out Jamberry nail wraps I decided to give them a try. I’ve seen similar products in the store but never really thought to buy them, and really it just didn’t make sense to me. What were they? How were you supposed to use them? Do they last? More importantly, how would they look!?
I received a couple of different designs, and I wasn’t quite sure which ones I wanted to use first but finally decided on the Boysenberry chevron design. Jessica sent me everything I need, minus the heat source but from the instructions and videos I’ve seen most people use their own hair dryer. At the end of the day the process is pretty simple and it doesn’t take all that much time to do, so if you’re a gal on the go you’ll love these!
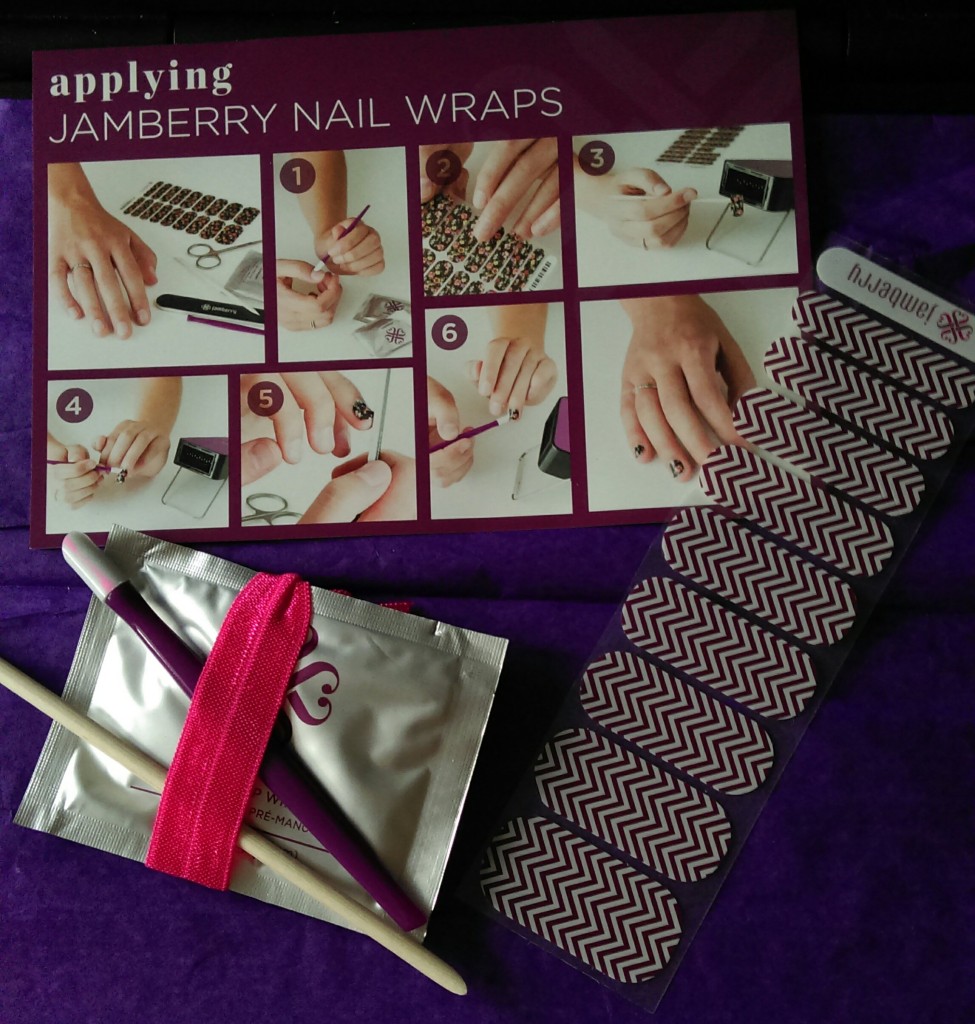
What you need to apply your Jamberry nail wraps:
- Scissors
- Nail file
- Cuticle pusher
- Alcohol wipes (or cotton/alcohol)
- Heat source
Tip: Jamberry has a mini heater for sale, but a blow dryer works just as well.
1. Start off by clean up your nails
Make sure to remove all remnants of nail polish and then wipe your nails down with alcohol. Let your nails dry before moving forward.
#ManiMonday Tip: Make sure you clean your nails really good with rubbing alcohol before applying your nail wraps. – @snurferchick
2. Match them to the right size wrap.
Every video I’ve seen suggests that you go small rather than big. That way the wrap doesn’t get onto your skin which can cause it to rise or warp. The Jamberry nail wraps are pretty long so you should have enough for multiple applications if you cut it to size before pulling it completely off the plastic. I found the easiest way to handle the wraps was with tweezers or a pair of small nail scissors.
#ManiMonday Tip: Clip the nail wraps close down to the nail before filing. – @srtaintelectual
3. Heat ’em up!
Once you pull the Jamberry nail wrap off of the plastic you will need to hold it up to your heat source for a few seconds (the instructions suggest 3-5 seconds). Just long enough for the adhesive to soften up and allow you to mold the wrap to the shape of your finger.
4. Place the wrap on your nail
Press on it firmly so that the adhesive sticks to your nail. You will also want to use the cuticle pusher to make sure all of the edges are smoothed out.
5. Trim it down
Once you’ve smoothed it out you can trip any excess off the tip of your nails with a nail file. You will want to use a downward motion so that you don’t accidentally lift up the nail wrap.
#ManiMonday Tip: Use a glass nail file for filing off the excess. Don’t overheat, and be sure to let them cool down before filing. – @srtaintelectual
The final results are below! I didn’t want to use all of the wraps just yet, so I used them for accent fingers and paired them with a solid purple.

These things are pretty great, and it’s definitely a bonus that they’re so easy to put on. I love that there’s no need to sit still for ages while your nails dry!
All in all, I think Jamberry has a good thing going, the price is good considering you can get multiple applications out of one sheet. So if you know someone who likes to get artsy with their nails or you just want to scoop some up for yourself then I would definitely recommend picking up a sheet (or two)!
If you’re looking to purchase and try your own Jamberry nail wraps, be sure to talk to the lovely Jessica Reed! You may order directly through her Jamberry consultant page or shoot her questions via Twitter @JessicaReed09 or Facebook.
Do you have any tips that might be good for the next time I use my Jamberry nail wraps?
Disclosure: I received Jamberry samples for the purpose of this post. However, everything within this review is based on my own personal experiences and opinions.
All photographs are property of dailyurbanista.com unless otherwise noted.

