
Weekend Project: Mastering The DIY Hidden Litter Box
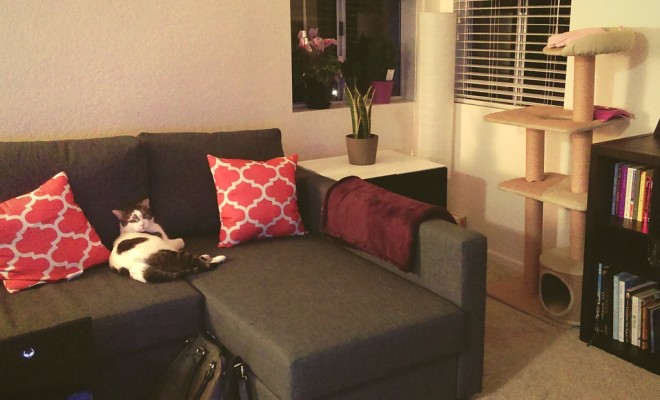
When I first moved into my own place I was limited on how much space I had, especially when it came to closet space. So when I was trying to figure out where to put the cat’s litter box I had to find a place that would be out of plain sight, but would be easily accessible to the cat. There is nothing more unpleasant than a cat who can’t find the litter box.
Growing up we would keep the litter box in the laundry room, or somewhere close to the back of the house and away from where people generally tended to hang out. So when I ventured off on my own, into a small one bedroom apartment with absolutely zero hiding spots I had to give up the linen closet in the bathroom and hope that we could all survive in peace and without mess.
We couldn’t, not really anyway. At the time I had three cats living with me: MY Cat, My little brother’s cat (who I was watching while he was off being a Marine) and my older brother’s cat (who was sadly shipped off to live with the “Grandparents” after one too many behavioral issues). The general rule is that you should have one litter box per cat, plus one extra. We’ve generally gotten away with having just two so I figured it wouldn’t be that big of an issue in a new apartment.
Fast forward to me making the decision to move to the west coast, I cannot tell you how many apartment layouts I passed up because it didn’t look like there was any where “good” to put the litter boxes. At this point I had sadly lost a cat (due to old age) so at least it was a tad bit less stressful dealing with just two cats. It seemed like every apartment I looked at in California had a wide open layout and that was NOT going to fly.
Knowing that this might be an issue I started looking online for different solutions, I had seen cat furniture that had compartments for litter boxes but they always seemed way over priced. And then came all of the “hacks”, there are ALL kinds of different suggestions on how to build a DIY hidden litter box. Some people just used large plastic bins, others built small rooms into the walls or under the stairs and others just repurposed old cabinets or dressers.
I had just spent all of my savings on the move and furnishing my new place (because yes, it is actually cheaper to buy all new things when you move cross-country), I wasn’t going to dish out a couple hundred dollars to buy some fancy piece of furniture that the cats may not even use. No, instead I decided to go to IKEA and pay $50 for a simple cabinet and opted to try my own DIY hidden litter box!
The DIY hidden litter box
- Cabinet (style is up to you and up to your current decor, I used the Stuva Wall unit from Ikea)
- Doggie door – size may help you determine which cabinet you end up using.
- Drill
- Jigsaw
- Caulk
- Pencil
- Level
- Filter pads**
- Litter pan
- Litter
- Plastic litter scoop
- Removable Wall Hook
- Cat Mat
1. Plan it out
Before putting the cabinets together determine where you want to put the door. I thought that the back wall on the unit I purchased was a bit thin so I opted to build the small door into one of the sides. Which side depends on where you want to put the actual unit, you will want to plan this ahead of time so that you have enough space for your pet to go in and out, and for you to be able to clean the cabinet out when needed.
2. Mark it up
The door that I purchased came with an “easy to use” template. You measure your cats height, add two inches, and that will tell you were the top of the door should be. According to the instructions you just have to tape the template to the wall and start drilling away.
Using the template did not turn out so well on the first unit we made. The template didn’t align to the door properly so when we tried to put it in, it wouldn’t go in all the way. We had to use the actual door in order to mark where the screws actually went and then had to fix the holes in order for both pieces of the door to fit. It was actually easier to trace around the sides of the door and the screw holes and then drill.
3. Safety First
First of all, you will want to make sure that you have the work space to do this without breaking anything (especially if you’re renting!) So stay away from walls and the floor if possible, you will want to set up some kind of ‘table’ space that will give you enough room to move around once you start sawing through the wood.
Following the lines that you drew for the door you will want to slowly cut the hole out. Keeping in mind, that you may have to do some orbital cutting if part of the door has rounded edges, take these edges slowly so that you don’t make any mistakes.
You will also want to take any molding into account while you’re cutting. One of the issues we ran into was that the hole was too small which caused the side walls of the door to buckle and didn’t allow the swinging door to move easily. Those had to be sanded down so that they were then big enough for everything to fit comfortably.
It wasn’t until the second time around that my brother decided it might be easier to cut slits in order to accommodate the molded pieces of the door frame. Once we did that there was no problem putting both pieces of the swinging door in the wall.
4. Seal it up
Depending on your unit the walls may be thin, remember how I said the back wall was too thin? Well the side walls were thicker but not quite thick enough, so part of the swinging door actually stuck out. We used a bit of caulk on one side to seal it to the wall, you can caulk the inside as well but I left it alone. If I need to I can go back in and fill in the spaces, but for now it hasn’t moved so I will leave it alone.
I did fill in the inside edges of the cabinet, this will help prevent any leakage, which may then cause rotting since the cabinet is made out of cardboard/wood. You can smooth everything out with a small spatula and then let it dry out completely.
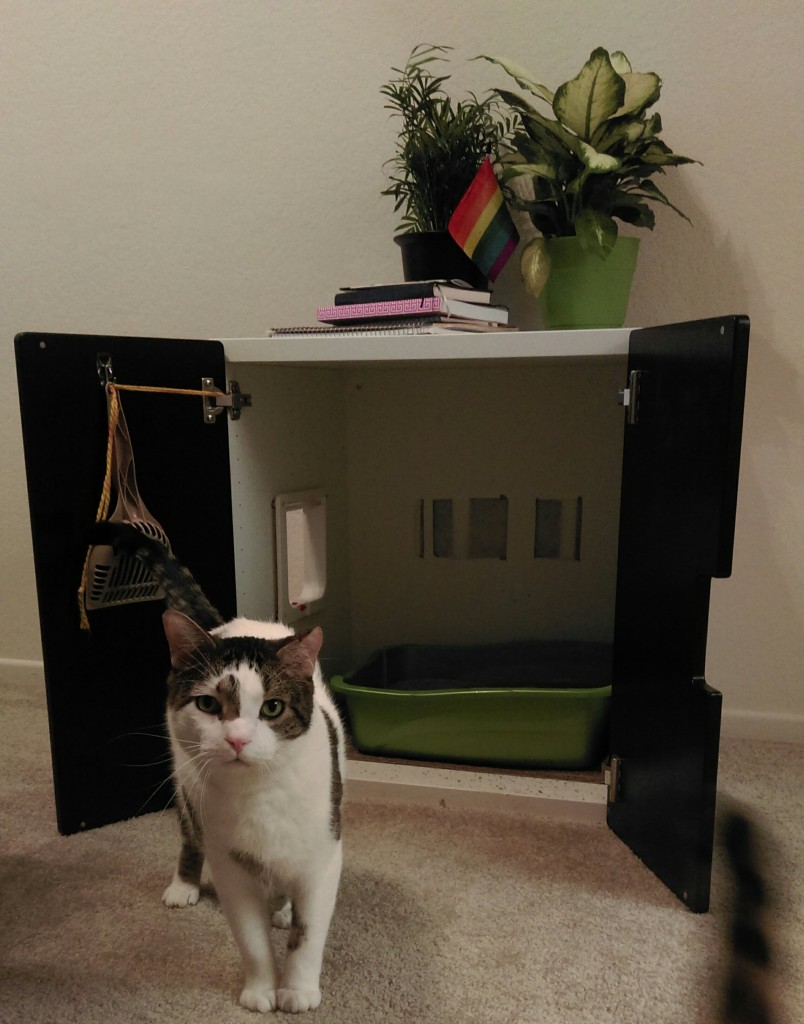
5. All done!
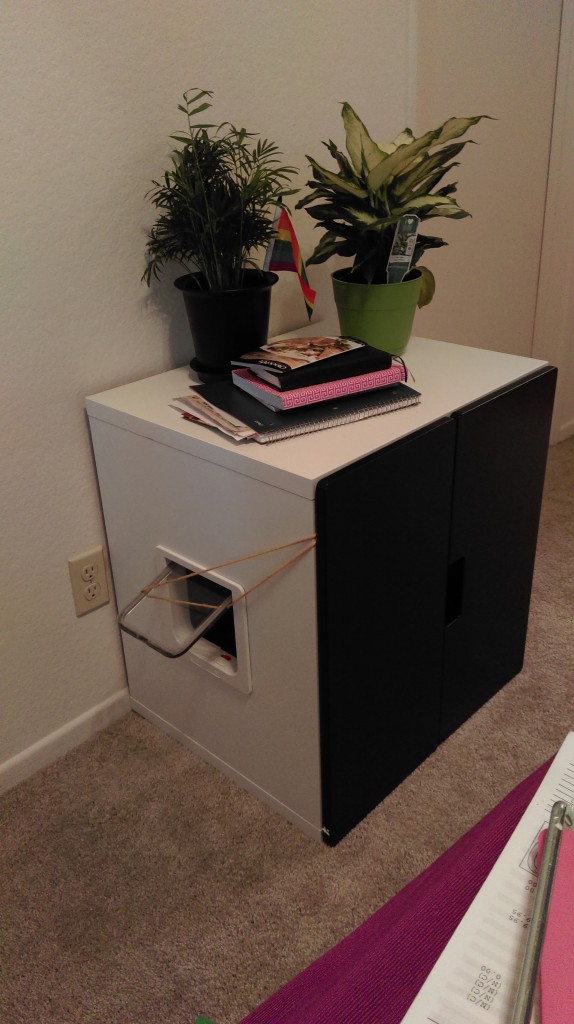
Once the caulk has dried up and you’ve cleaned up all of the wood dust then you can add in a plastic cat matt, your litter box and even attach a small hook to the door to hold the scooper. Something else that you can do, especially if your cabinet is completely enclosed, add in a ventilation hole.
There are all kinds of ways that you can do this, my brother actually cut out some slits in the back wall of the cabinet and then threaded in an air vent filter. For testing purposes it will stay there and if needed I will change it out for a different filter.
**My older brother suggested I use activated Charcoal, if you can’t get activated charcoal in a premade pouch then you can put it in a small cloth pouch and charcoal can be a bit messy so you will want to place it in a small bowl next to the litter box. This will help filter the air, but if you keep up regular maintenance there shouldn’t be much of an issue as the smell is contained.
I propped the door open to let the cats get used to the hidden litter box, I was actually a bit worried that they wouldn’t use it. Since they have ignored pretty much every toy I’ve ever bought them I thought that this might be the same, which is also why I went with a more affordable option. But, thankfully, they used it almost immediately!
So if you are short on less visible spots to put your litter box then try this simple DIY hidden litter box. Just remember that it might be easier to skip the ‘simple’ instructions and use the actual door for a guide. It might make your life a tad easier than the “easy to install” instructions.


